
Reviewing Movavi Video Editor

Movavi’s video editing software strives to simplify movie and clip creation by eliminating unnecessary complexity of its competitors. That sounds good on paper; how well does this translate in practice? After all, creating captivating videos often requires advanced tools and capabilities; you need an accessible program that renders quickly as well. Movavi Video Editor stands out by packing plenty of capability into an unintimidating interface.
What’s New in Movavi Video Editor?
Movavi receives regular updates and new features. For existing users of the software, here is an update on what has changed with Version 23:
AI Background Removal. AI Background Removal has quickly become a staple effect among photo editing apps, but is now being utilized in video as well, providing another layer of complexity while eliminating the need to shoot on green screen.
AI Noise Removal. AI Noise Removal is an invaluable resource for making videos captured using smartphones watchable and enjoyable to view.
TikTok remains an increasingly popular YouTube alternative for social video, so many may find the ability to directly upload videos onto the platform helpful.
Movavi gives YouTubers something special with the release of new frames on Google’s site.
AI Upscaling. This new tool, part of the Converter utility, is great for making smartphone clips look professional and vibrant.
Interface updates. Since my last review, there have been various less noticeable updates such as not linking tracks by default, enabling gaps between clips, and only highlighting one clip after splitting, making deleting unwanted segments quicker.
Movavi Video Suite includes format conversion, disc burning and screen recording app for $94.95 annually or one-time cost of $259.95; its Movavi Unlimited plan adds photo and PDF editing.
Movavi works on both macOS (version 10.13.6 or later) and Windows 7 to 11 operating systems, and can be purchased either through App Store/Microsoft Store downloads, or directly on our product website.
Movavi sets an impressive precedent when it comes to performance: installation is as fast as browsing a website and takes up only 280MB of hard drive space; most consumer video editing software currently requires over one gigabyte of storage. See the Performance section below for full specifications.
Movavi’s Interface
Movavi Video Editor is refreshingly intuitive, labelling each element clearly. A series of tooltips appear when performing actions, providing instructions on how to use the application. Buttons down the left rail give access to modes such as Importing, Filters, Transitions, Titles, Stickers and more – while an important last group includes Color Adjustments, Crop and Rotate features, Pan and Zoom options, Stabilization features as well as Stabilization Slow Motion Chroma Keying capabilities; I would prioritize these over Stickers but let them make up this great program!
Import mode provides several sections not only for importing content, but also the traditional Media bin containing all project assets; sound files, music tracks, sample videos, backgrounds and effect packages can all be easily added via this mode.
The main section layout resembles that of most video editing software, with a source box at the top left, timeline tracks running full width across the bottom half, and a preview player at the top right. Undocking only the video preview panel can be undone while relative sizes of other panels can be adjusted freely.
Above the timeline, which does not limit how many tracks you can add, are buttons for Splitting, Rotating and Cropping as well as Color Adjustments, Clip Properties, Markers and Record Video/Audio recordings.
Movavi makes playback simple, with stop/start controls using the spacebar and timeline scaling using mouse wheel-Ctrl key. Movavi also supports some keyboard shortcuts; though not as fully as standard pro J, K, L for playback and I/O for in/out edits.
The Undo feature is impressive because it works between sessions; I can close a project and still undo previous actions when I open it back up later. Another convenient touch is when applying video or audio effects, a star appears on the clip in the timeline that when clicked takes you directly to its settings.
Beginning a Project in Movavi
Start your video project by tapping or dragging media files directly from File Explorer/Finder into VideoScribe’s Add Files button, or by simply using File Explorer/Finder itself to drag media in bulk. A tutorial overlay then provides insight into all parts of its interface; to add clips directly to the timeline double-click any clip – drag it as necessary or choose where they go on either its timeline, beginning or ending point; add to existing positions by right-click menu if that option exists – or just drag-and-dropping it directly after its current clip using its right click menu button!
Movavi supports most common video file formats. I had no difficulty importing H.265 content taken by newer iPhones without issue. You can even take advantage of its integrated video capture utility to record directly from webcams or cameras connected to your computer.
Intro mode is an invaluable asset to YouTubers and vloggers, enabling them to set consistent sequences at the beginning of all their videos, giving your channel an identity.
Pros may miss having pre-trim clips before adding them to their timeline, but that shouldn’t bother hobbyists. Trimming options also vary; slip, slide and roll trimming isn’t available here – simply trimming ends or splitting clips is enough. Also don’t be alarmed at any limitations that you might face with amateur editing: simply drag clips’ edges closer together which instantly snaps together a shorter version on your timeline!
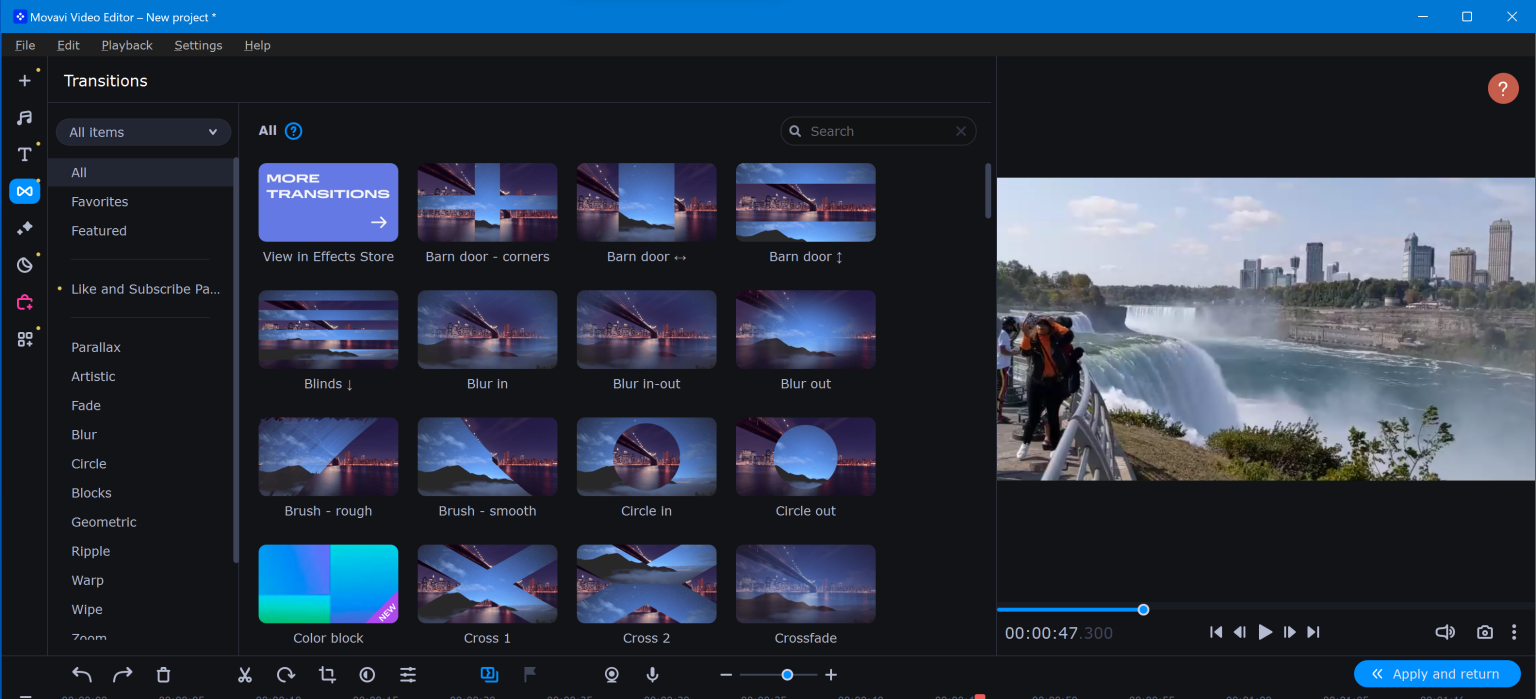
Movavi offers an impressive array of transitions, and more can be purchased within the app. There are two ways to work with transitions: switch into Transition mode to see thumbnails depicting transition effects in action; or click the Transitions button above the timeline to access a drop-down list on the Transition Effects page that also houses Pan and Zoom features.
Transitions allow you to add random transitions throughout a project, set one transition for all clips joining, or select exactly which transition should apply to one selected clip. You can set its duration. One great benefit for amateur filmmakers is that this program doesn’t scold you about not having enough overlapping footage; it simply creates good-looking transitions with what’s on your timeline. However, one oddity of its interface is that multiple transitions may be selected at once so uncheck those not needed before applying any specific edit.
Correct and Enhance Videos in Movavi
Movavi’s Filters mode lets you easily apply Adjustments, Blurs, Color Filters, Vignettes and more effects. It offers a large selection of sample video and audio that it automatically downloads after clicking them; plus there’s even an interactive Search Box so that any of these effects or transitions can easily be located!
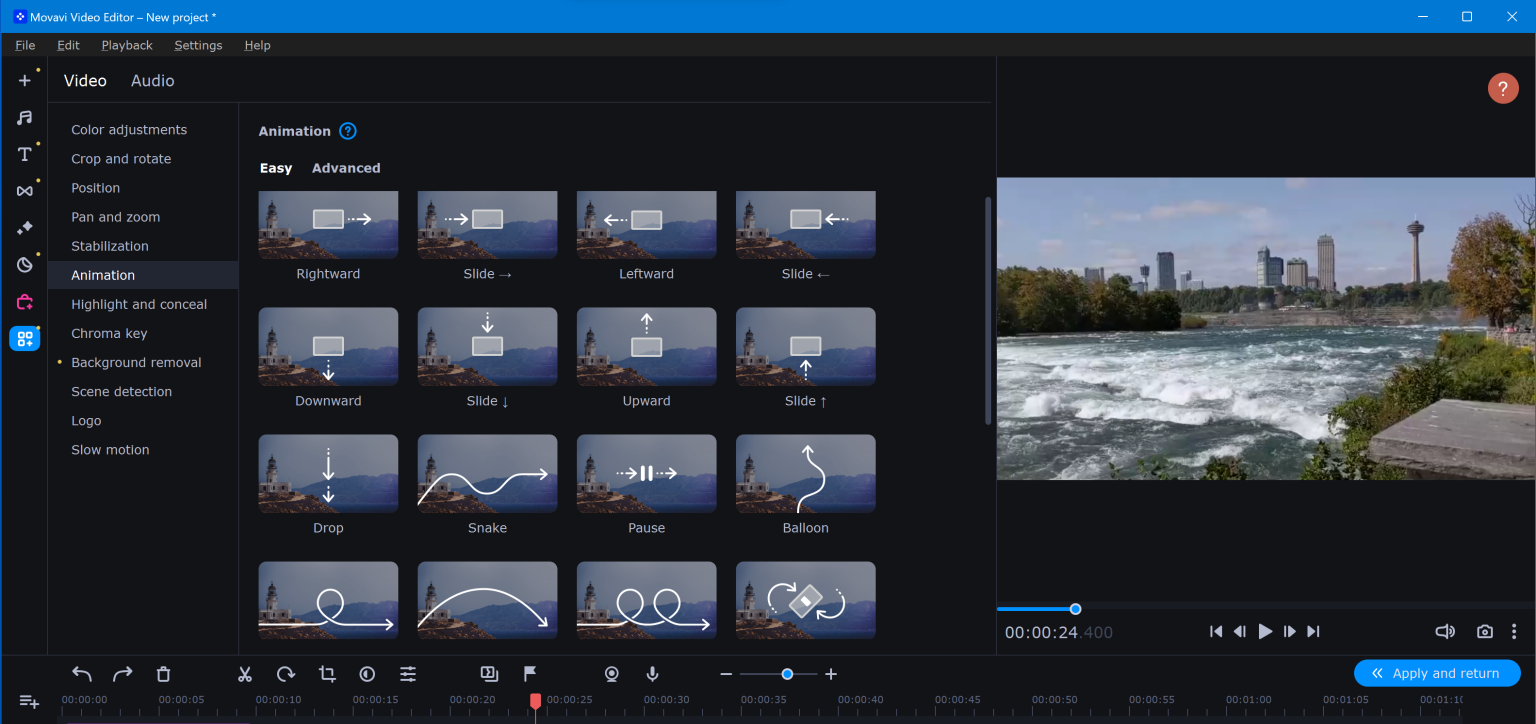
Once inside, the real fun begins in the More Tools (which quickly changes to All Tools when entered) where you gain access to Overlays, Stabilization, Animation, Chroma Key and Audio tools. On the Animation page’s Advanced tab is where you’ll find keyframe editing; unfortunately it is limited in its application only by size, position, opacity and rotation only – however this satisfies its ease-of-use goal and provides only basic controls over effects and positions compared with PowerDirector or Pinnacle Studio which offer full keyframe editing on all effects and edits applied; while for those seeking greater control should explore PowerDirector or Pinnacle Studio which offer fuller control over effects and edits applied with keyframes.
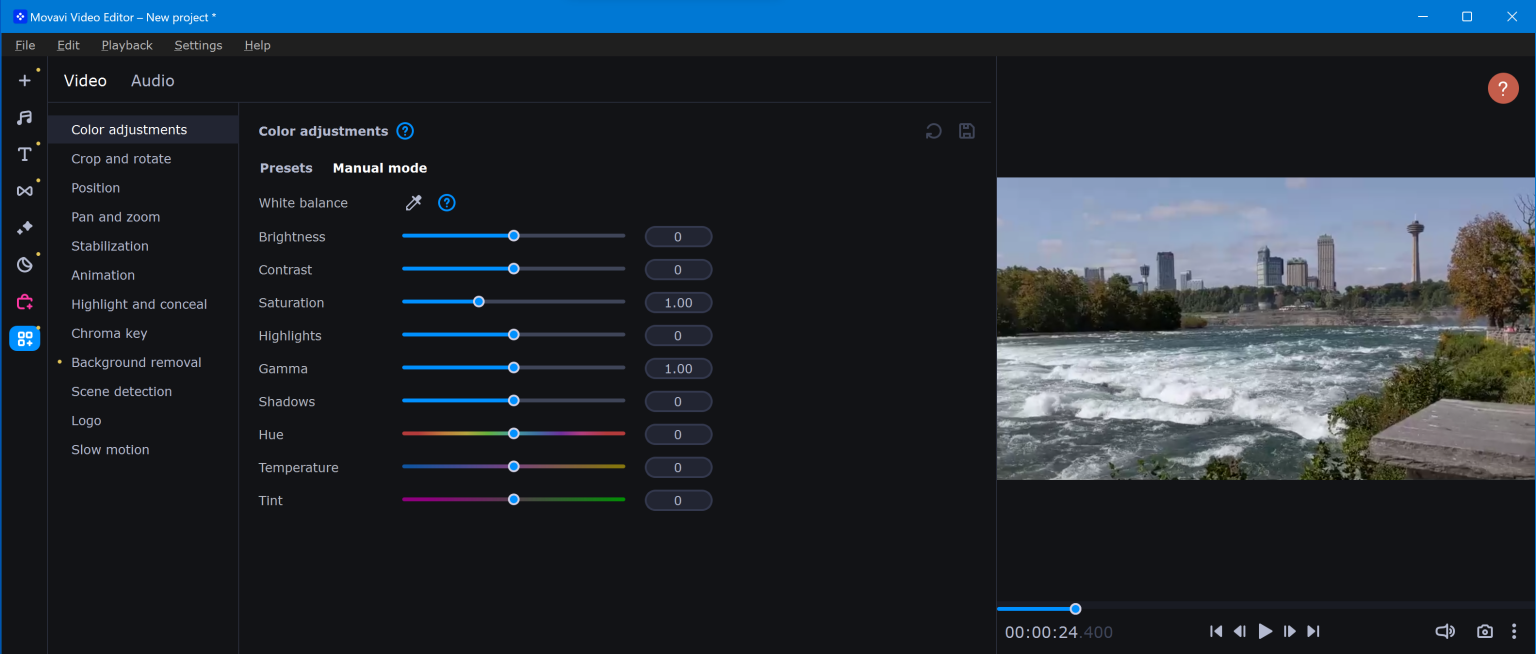
Color adjustments include Auto Contrast, Saturation, White Balance and Magic Enhance which all work extremely well, especially Magic Enhance which adds more life and presence to images. Furthermore, manual color settings can also be adjusted as shown below. A decent selection of LUTs allow you to alter the mood of scenes using Drama, Thriller Vintage Trip to Mars as well as seven additional looks; unfortunately there’s no day-for-night effect (though that rarely works reliably when present).
The Overlay section allows you to add picture-in-picture effects with video clips that overlap on a timeline in separate tracks. While other software offers many video collage templates, some will remain. Resize and position pictures according to taste; an indicator appears when your inner picture is centered horizontally or vertically for added ease.

The Stabilization tool lets you set accuracy and shaking parameters before previewing results. I was very impressed by its effectiveness on a test clip; even an intense shake was effectively smoothed out for a more relaxed video experience than its original.
Speed editing takes place in two places. The Clip Properties panel’s Speed slider lets you set clip speed from 10% to 1,000%; Slow Motion lets you reduce it further. Neither panel offers Freeze-Frame effects; instead you can access them by right-clicking in the timeline with your cursor and selecting Insert Freeze Frame from its context menu. Reversing playback is another feature available within Clip Properties.
Motion Tracking can be found both in the Highlight and Conceal section of All Tools as well as text and sticker apps. First you select either a black shape or blurred shape mask before adjusting feathering, opacity and outlining preferences before tracking begins using Quick, Precise or AI tracking techniques (which wasn’t too slow during my testing – even staying with its subject even when she passed behind a telephone pole!). However, AI motion tracking was able to follow her after she passed behind a car (see video below).
The Chroma Key tool begins with green as its starting point, but using a dropper allows you to choose any background color in a shot. Adjusting tolerance, noise, edges and opacity settings is possible as well. However, other software such as Corel VideoStudio offers additional background colors for keying.
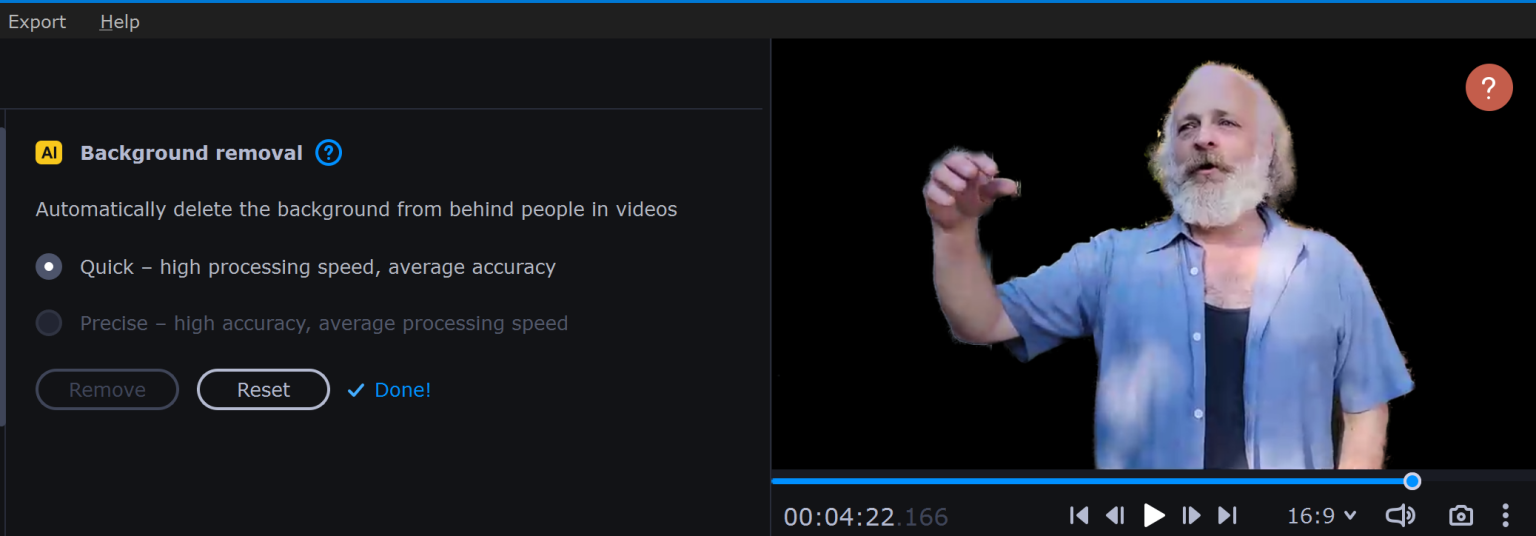
AI Background Removal will likely be familiar to many from its use in photo software like Adobe Photoshop. Now it has found its way into video editors like Movavi as an easier option than green screen shooting. To use it, right-click a clip in your timeline, choose Tools from the context menu, then Background Removal; alternatively it is available under More Tools on your main toolbar and gives you two choices of Quick or Precise settings. Quick was my initial go-to setting; it took just 20 seconds on a 23-second clip and did an acceptable job (far superior to Vegas Pro). Precise took twice as long, yet produced far more accurate results: my final result.
Instant Movies available
Movavi’s Montage Wizard makes it simple to create movies using media that’s already sitting around, complete with background soundtrack. Simply select Create Quick Video and add media. Next you get access to templates like Family, Memories and Travel which feature previews before having to decide between using or not using. Finally select your music mood before previewing your video!
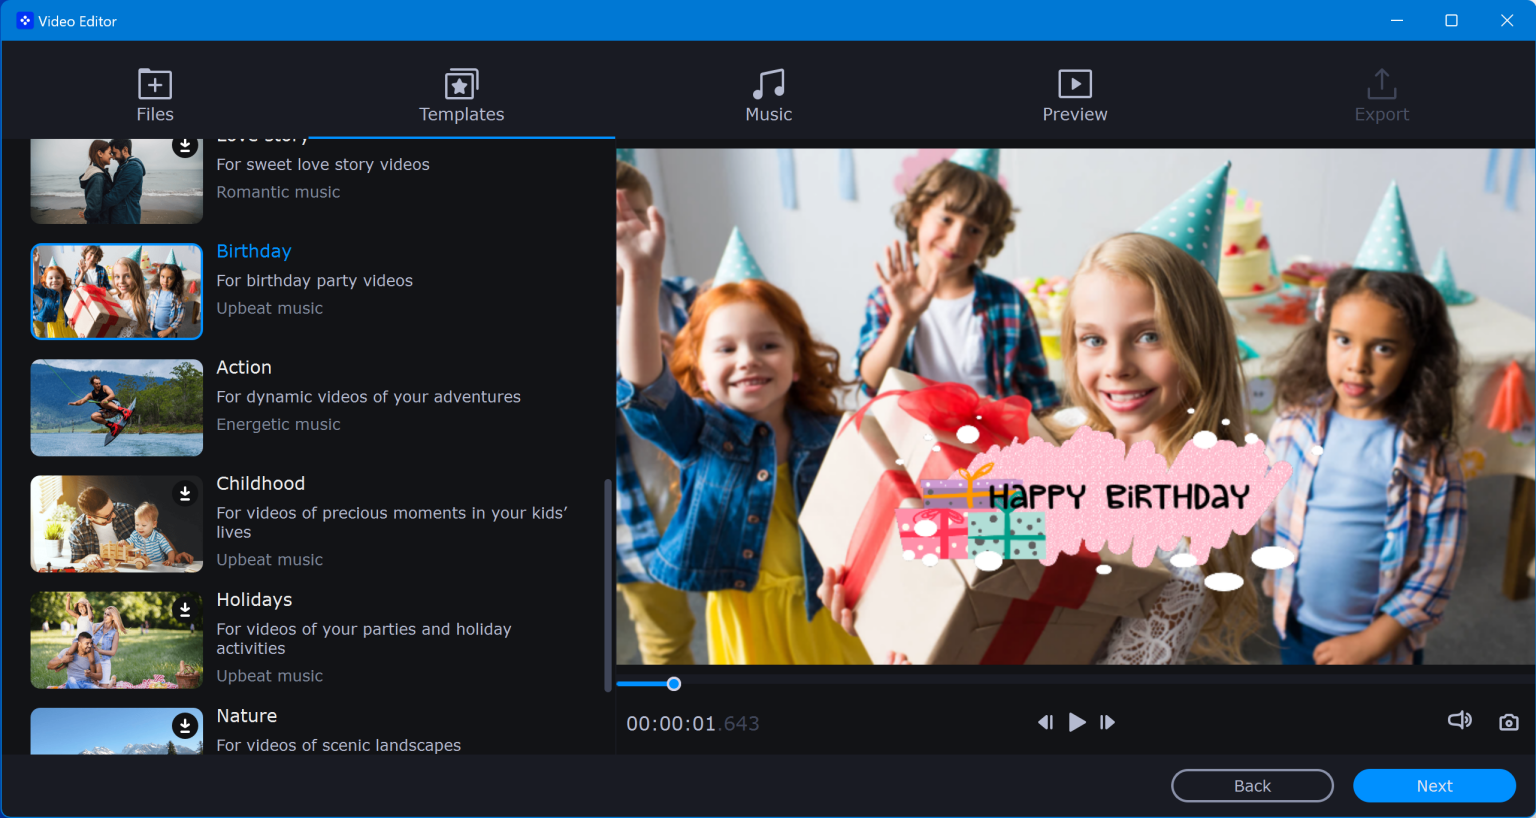
Movavi’s Montage Wizard makes creating movies easy! Simply select Create Quick Video and upload media, before accessing templates like Family, Memories and Travel which offer previews before letting you decide if any will be included or not. Finally choose your music mood before previewing your finished video!
Titles and Text in Movavi
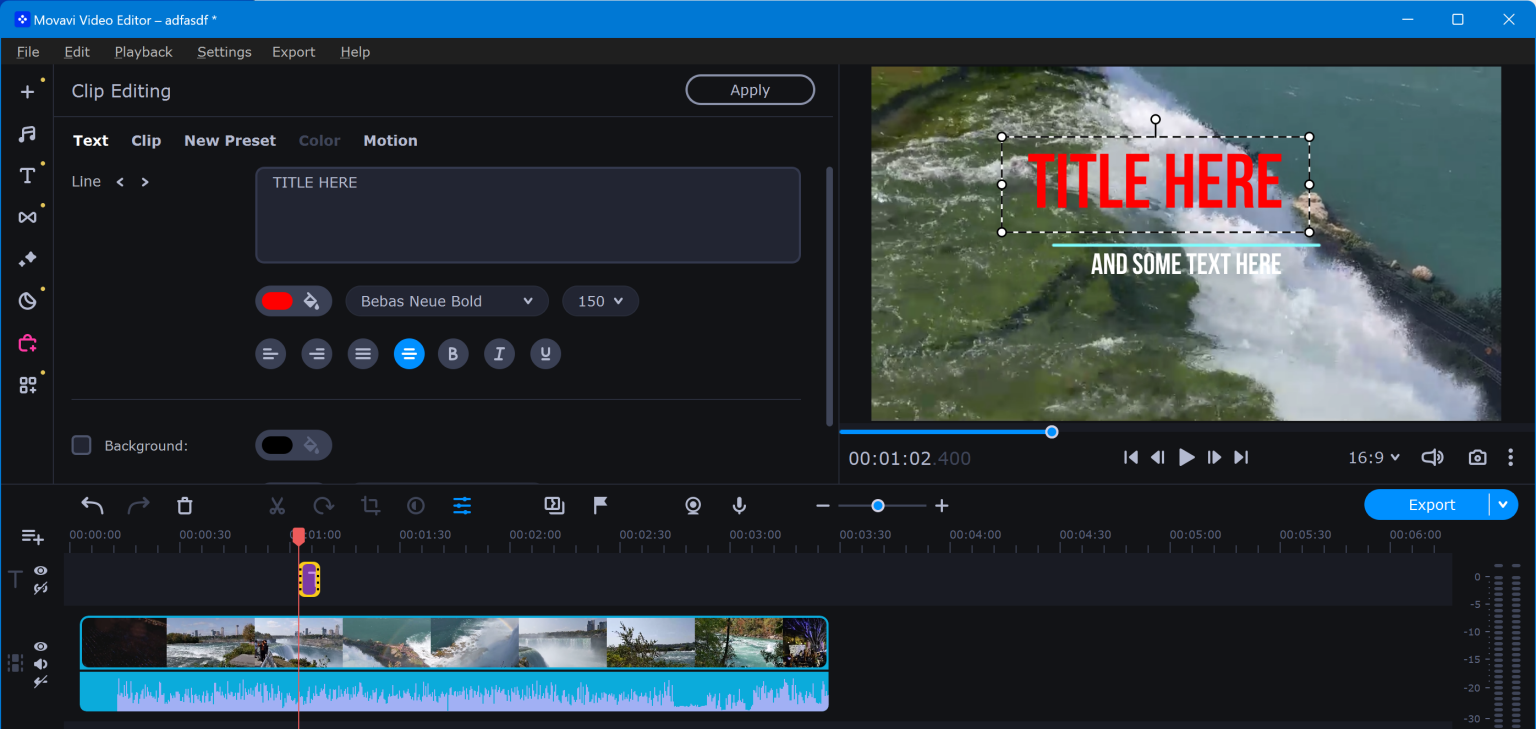
Your options include tasteful and cheeky titles with animation. As stated, motion tracking titles is also possible. Resizing and moving them around on the preview screen provides WYSIWYG (what you see is what you get) results which not all video editors are capable of providing. There’s plenty of font and color choices, a background color option and outline (also called stroke) option, and once you find one to your taste you may save it as a preset; many also come equipped with basic flyby/zoom animation features!
Movavi’s Audio Tools
Movavi recently unveiled several audio correction and enhancement tools, such as autocorrect for noisy places, enhanced voice recording and recording studio join effects such as Overload, Oscillation, and Vibrato. I tested out autocorrect on an outdoor smartphone clip recorded during windy conditions; though its default setting didn’t reduce wind noise enough by default; thanks to its noise gate slider this issue was soon taken care of! Additionally, its voice corrector did an effective job at eliminating room noise, making this app particularly suitable for podcasts.
Adobe Premiere Rush doesn’t allow this, while All Tools contains this functionality via Audio Editing entry. Furthermore, an exciting Synchronization option lets you shoot from two cameras at the same time–an important first step toward multicam editing that Movavi lacks.
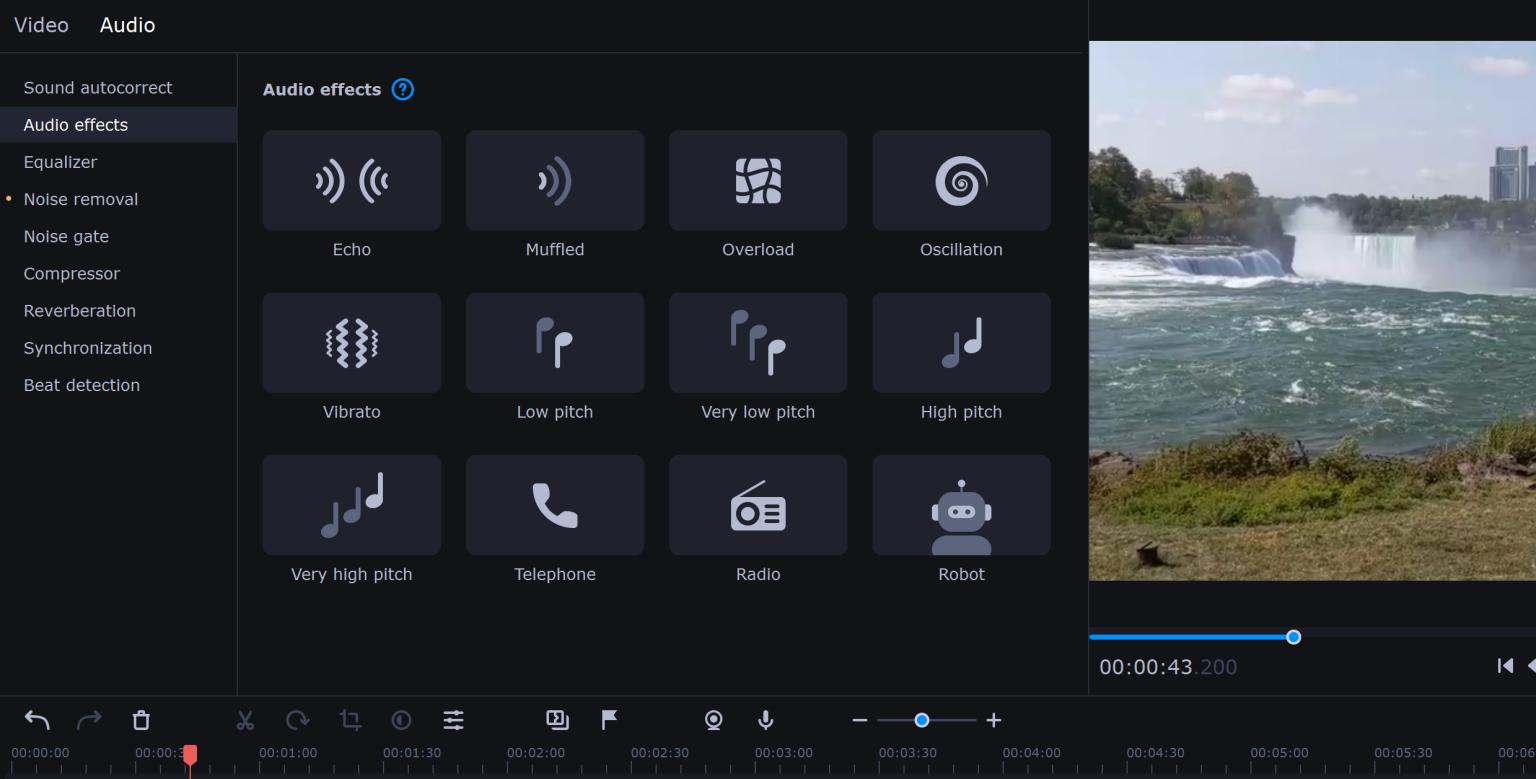
Movavi includes an equalizer and nine effects such as Echo, Muffled, Telephone and Robot – other programs like Adobe Premiere Pro allow users to simulate different acoustic environments like those found in cathedrals or stadiums – the Reverberation tool helps get close. Furthermore, Beat Detect adds markers at beat points that help users locate edits and effects more easily.
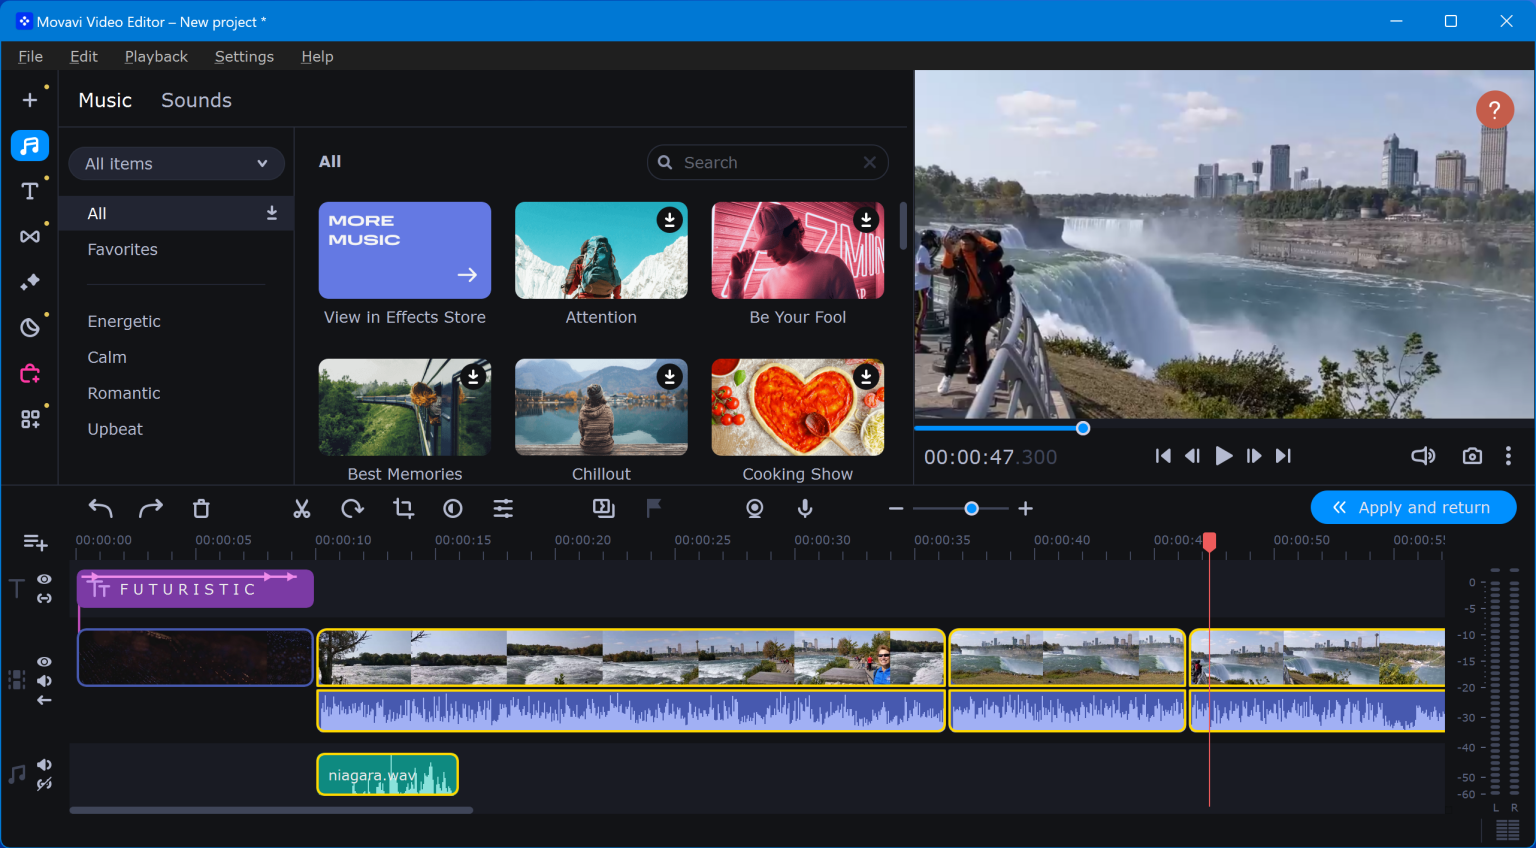
AI Noise Removal is new in version 23. I gave it a test run using footage shot at Niagara Falls. There are two options when doing audio noise removal: Artificial Intelligence and Default. Unfortunately, Artificial Intelligence created an unnatural soundscape and does not offer strength adjustment sliders like its default counterpart does; Wondershare Filmora proved far superior for noise reduction purposes.
Movavi Export and Performance
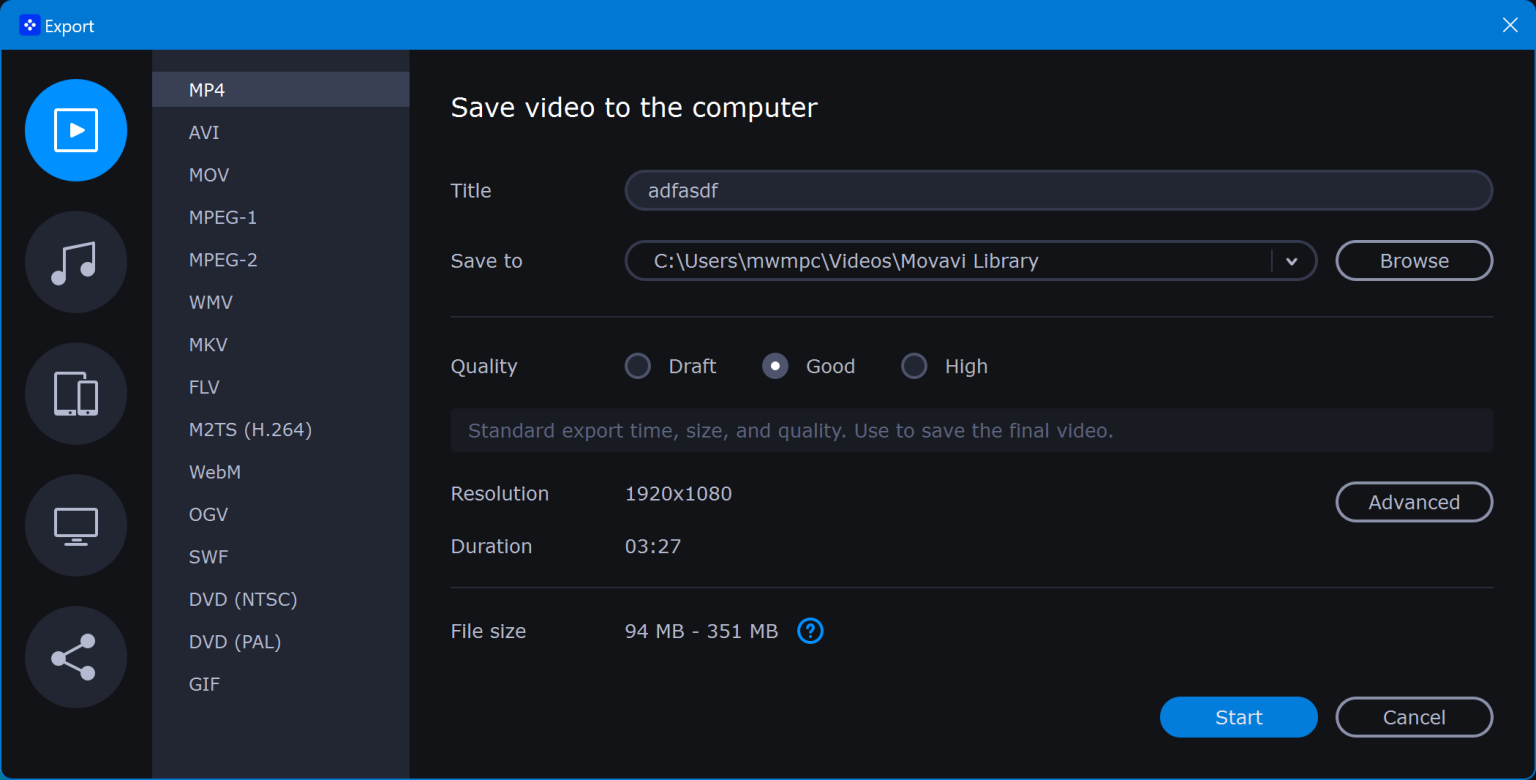
Your export options in this program include standard formats like MP4 and MOV as well as more exotic options such as MKV, WebM, GIF and audio only formats like AAC FLAC MP3 OGG WAV WMA. Apple, Android PlayStation Xbox output can also be created directly using this program; as is direct uploads to Google Drive YouTube Vimeo with decent yet not overpowering control over technical details like bitrate for both video and audio streams, frame rate resolution two pass encoding etc.
Movavi is responsive and stable enough for general editing tasks, though I experienced no crashes during use, something rare among video-editing software from major players like Apple’s Final Cut.
Movavi utilizes GPU hardware acceleration on all three major GPUs from Intel, Nvidia, and AMD for faster editing of high-resolution content, creating proxy versions to speed up editing processes. My rendering test yielded excellent results with Movavi being one of three top performers overall.
Render speed testing involves joining seven clips ranging in resolution from 720p to 8K with cross-dissolve transitions applied, and rendering to 1080p30 using H.264 and 192Kbps audio at 1080p30 resolution – producing an output movie lasting over five minutes on my Windows 11 PC, powered by a 3.60GHz Intel Core i7-12700K CPU, 16GB RAM, Nvidia GeForce RTX 3060 Ti GPU, and Samsung PM9A1 PCIe 4.0 NVMe SSD.
As evidenced by the graph, Movavi placed third with an impressive render time of 42 seconds – so speed shouldn’t be an issue for most users.
Movavi on the Mac
Movavi Video Editor on Mac OS is feature equivalent to its Windows counterpart and available through the App Store for easy installation, updates, and use across multiple computers. When tested on the M1, its interface displayed rapid response.
Movavi’s system requirements state that their software requires an Intel-based Mac, but I had to conduct testing on an M1 MacBook Air due to my Intel MacBook Pro experiencing fatal errors when running Final Cut Pro. A Movavi representative informed me that native support for M1 MacBook Airs will come “soon,” yet their app worked flawlessly without issue on my M1 machine; its program looks identically like Windows and features all its same capabilities.
It’s Easy to Make Moving Pictures With Movavi
Movavi Video Editor is an enjoyable program to use and we recommend it for creating professional-looking videos. Contrary to many consumer video editors, this one doesn’t overwhelm with options or intimidate newcomers; yet it still provides all the advanced techniques people desire – such as chroma keying, transitions, title text editing, picture-in-picture effects, music/audio editing and even motion tracking. CyberLink PowerDirector and Corel VideoStudio Pro are our Editors’ Choice winners when it comes to video editing software for enthusiasts, while Mac users will likely appreciate iMovie, with advanced users opting for Final Cut Pro as an advanced solution. Professionals in the video industry may require Adobe Premiere Pro as well.